Posted on: May 5, 2025
Making a Simple Jig That Saved My Cabinets (and My Sanity)
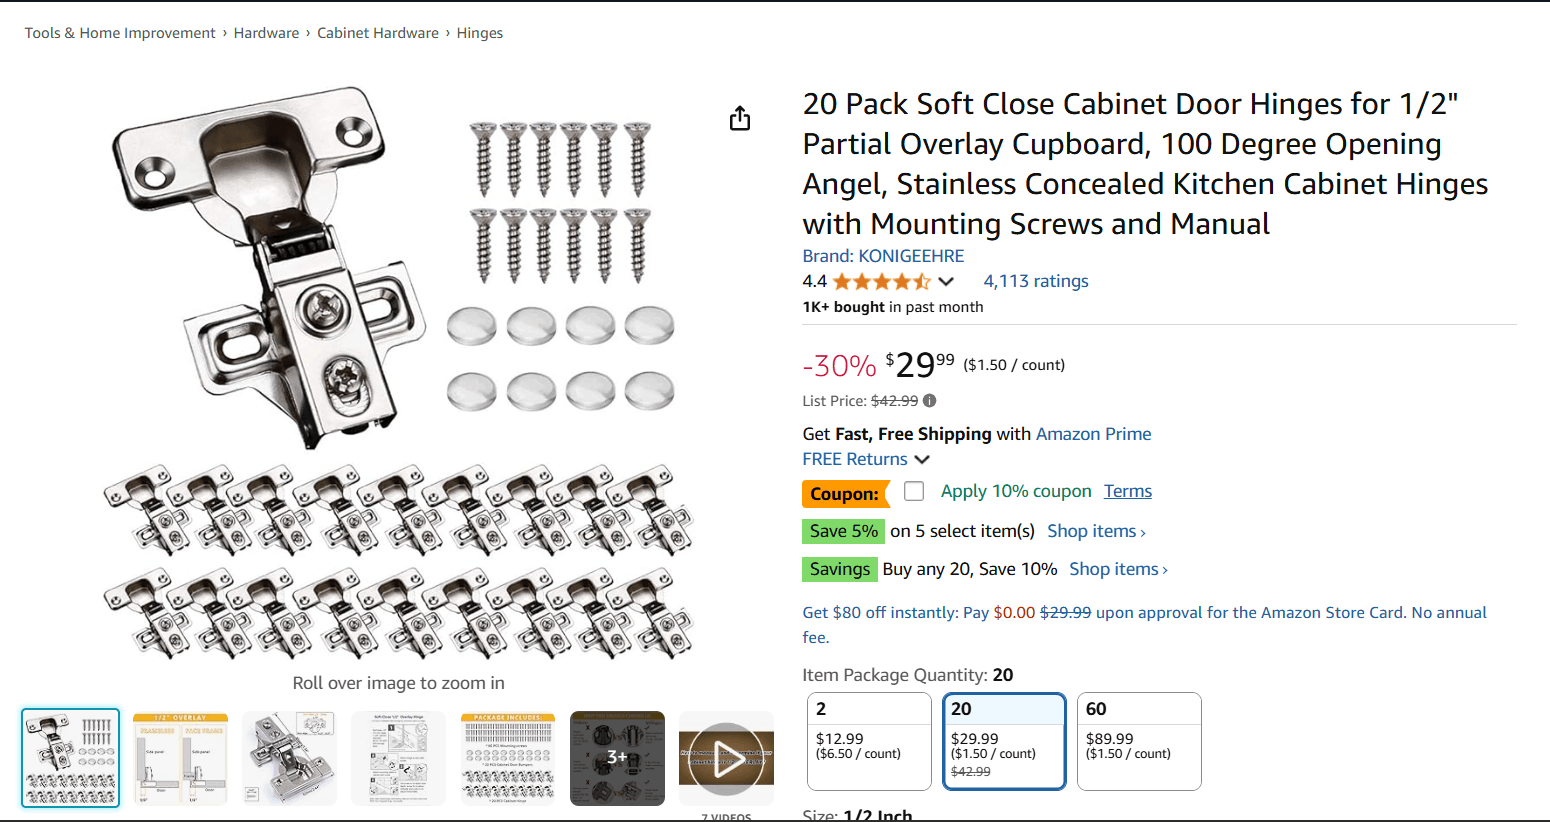
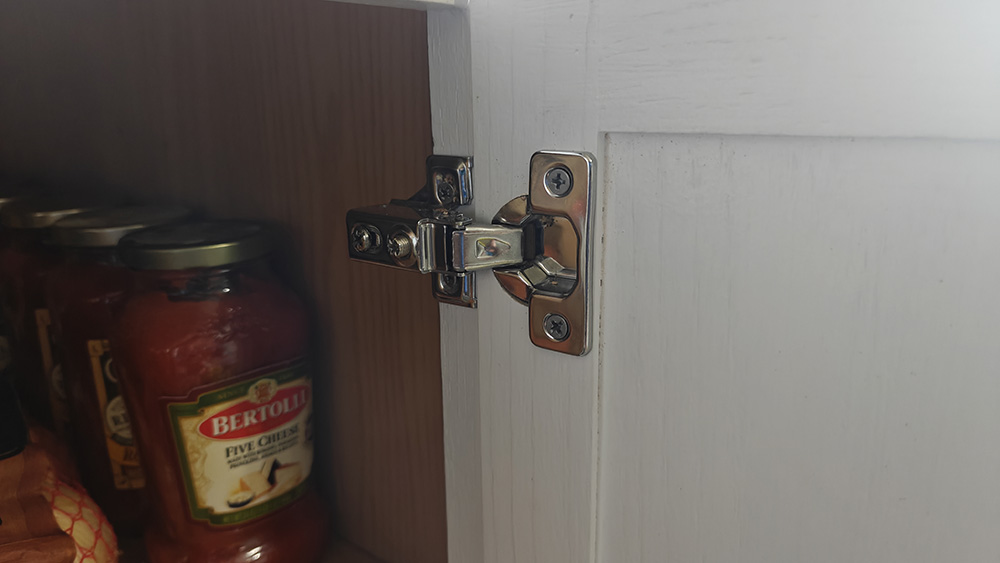
So here’s the deal: I bought a 20-pack of soft-close cabinet hinges off Amazon — sleek, stainless steel, 100-degree opening angle, good reviews, decent price. They looked great. The only problem?
No stencil. No guide. Just some instructions that basically said, “Good luck, and may your doors not be crooked.”
Now, I’m not new to DIY projects, but I wasn’t about to eyeball a 35mm hole that had to be perfect – especially not after everything we’ve put into this kitchen. You get that hole just a hair too high or low, and suddenly your cabinet doors won’t sit right, won’t close right, and definitely won’t look right.
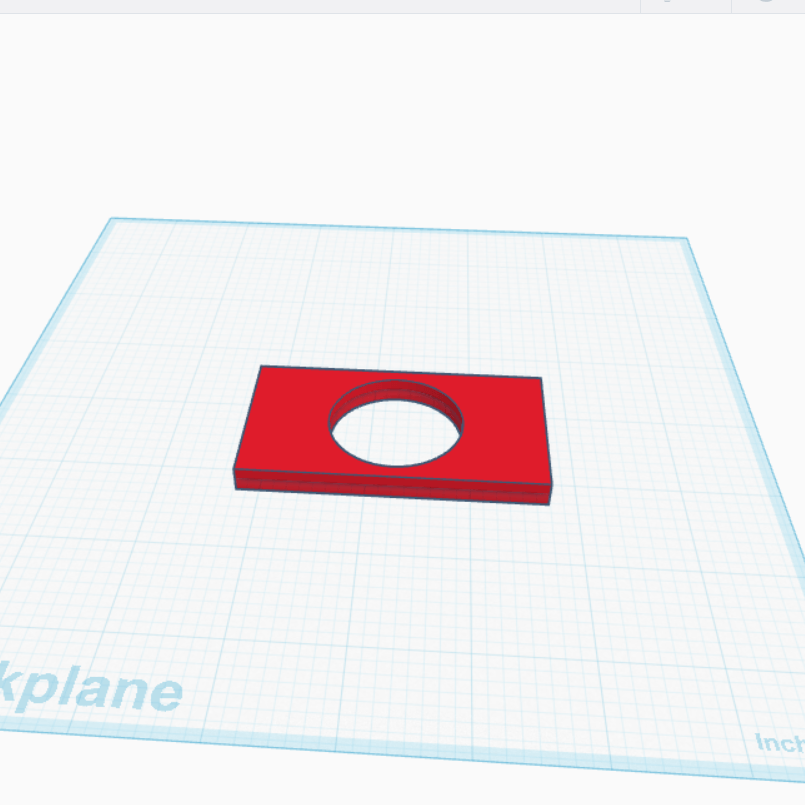
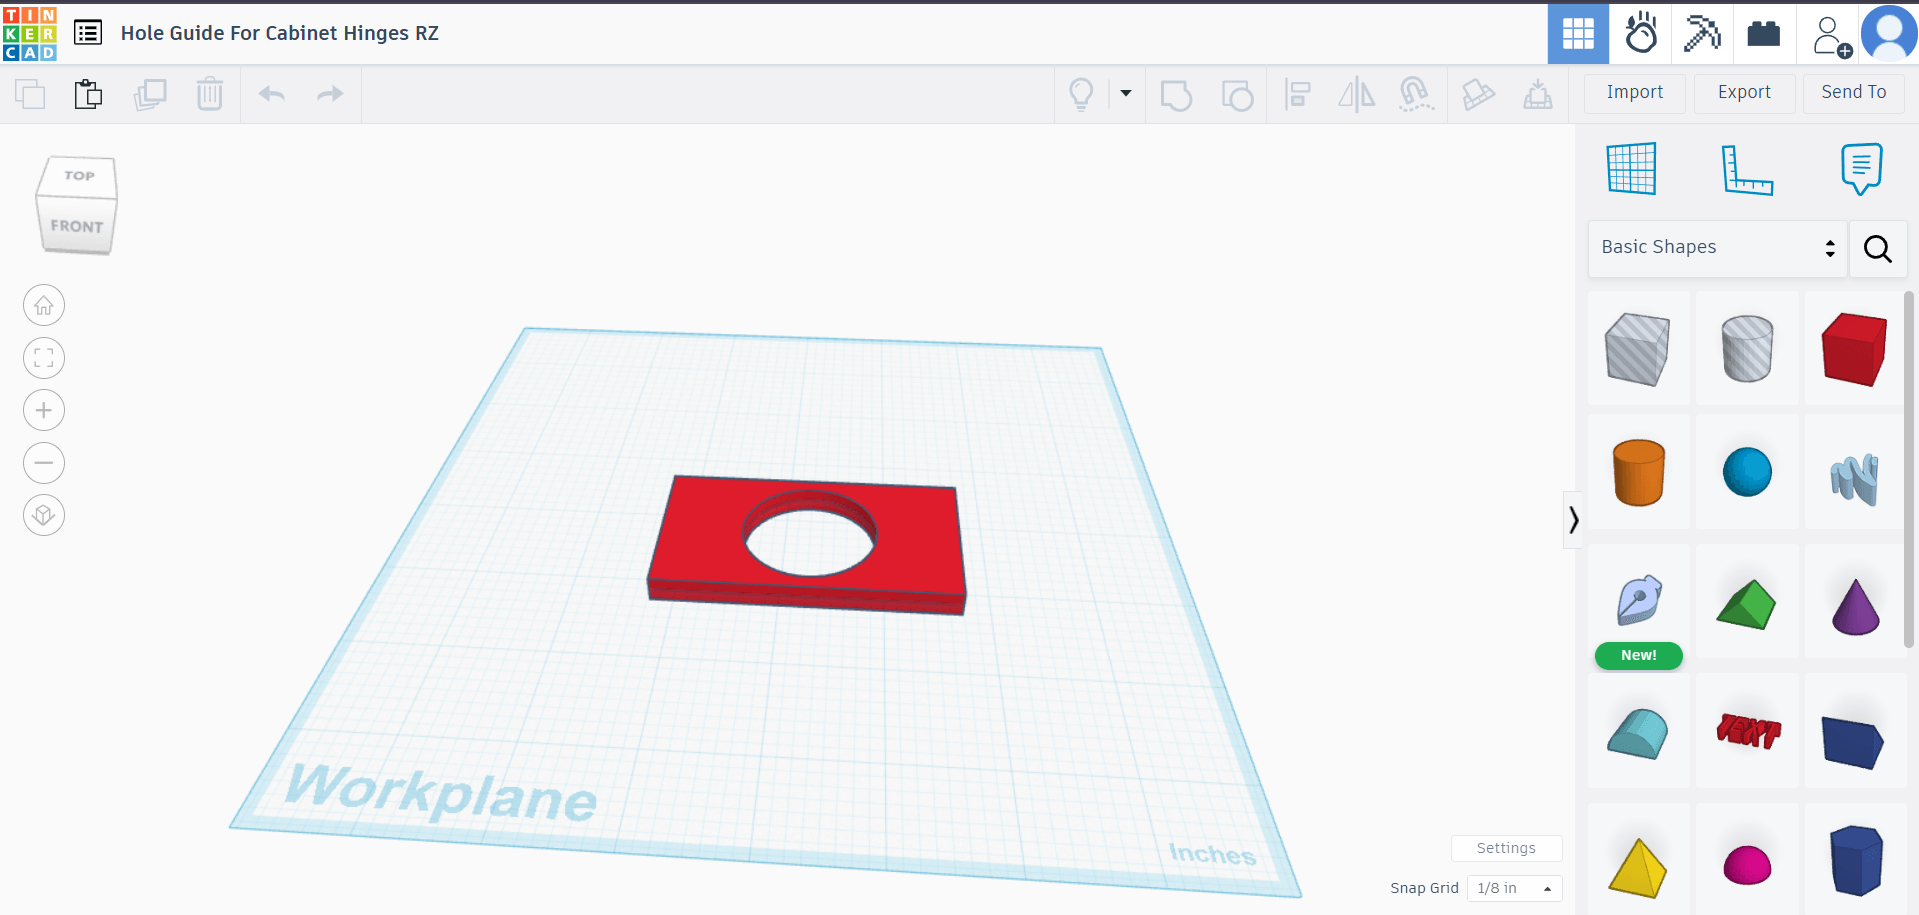
Enter: Tinkercad + a Basic Jig
I fired up Tinkercad and designed a simple circle stencil. Outer edge was set to 1 5/8" to match the stile on my cabinet doors. Inner hole was 1 3/8", which fits the hinge cup perfectly. It wasn’t fancy — no handles, no clamp mounts, just a flat piece of plastic that I could line up with the edge of the door. It did exactly what I needed it to do.
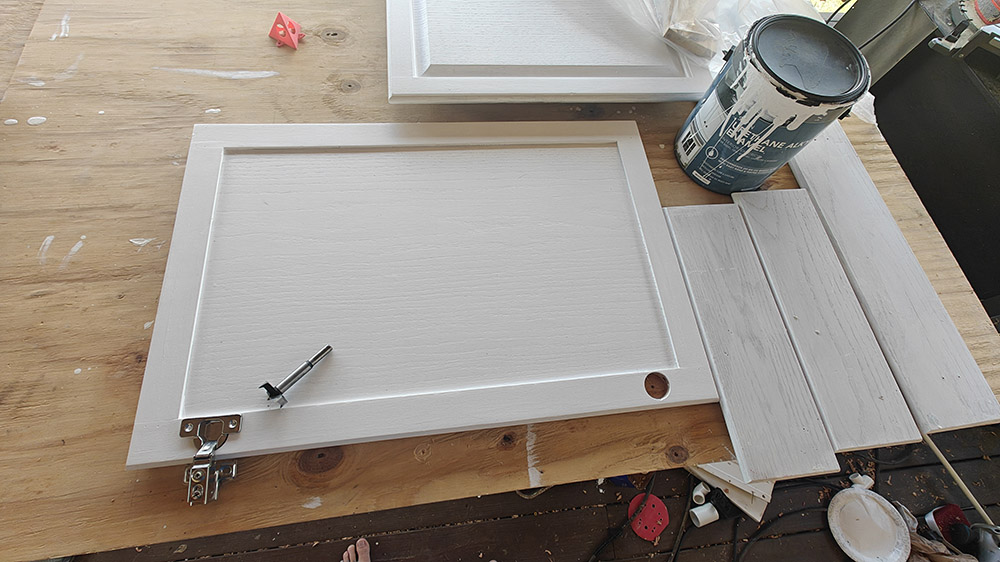
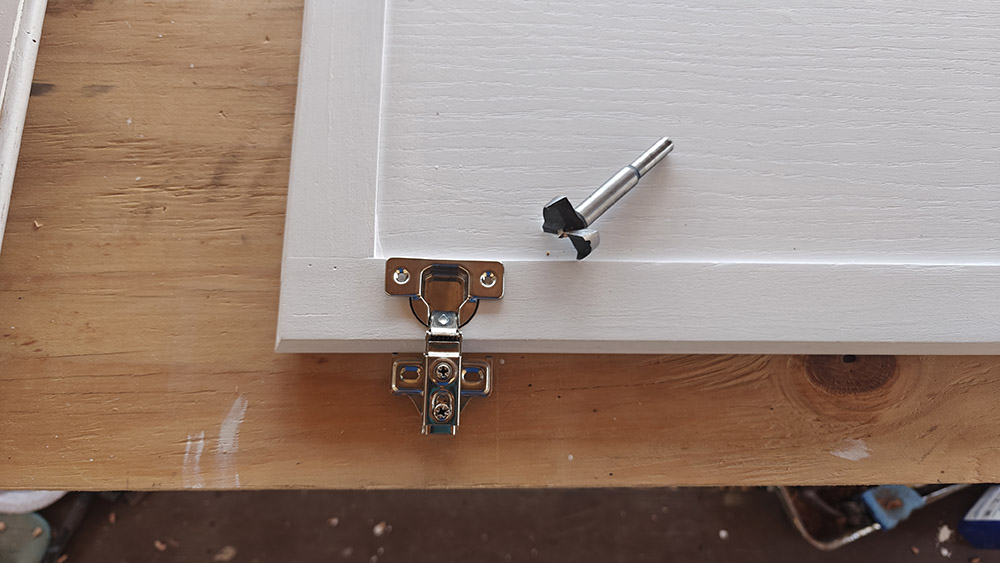
With that jig, I could repeat the same mark over and over. Every hinge bore landed in the right place. No measuring tape, no second-guessing. Just a pencil, a Forstner bit, and that trusty stencil.
That’s the beauty of 3D printing: you make exactly what you need, when you need it — and it fits your project like a glove. I’m sure a store bought jig would have worked, but this one fit my cabinets and cost me about 15 cents in filament. The best part is that I didn’t have to make a special trip to my least favorite store (Home Depot).

A Kitchen Project That Went Off the Rails (In a Good Way?)
What was supposed to be a quick kitchen update turned into a full-blown home remodel. We started with the kitchen and — funny enough — we’re ending with the kitchen. Somewhere in the middle, though, we remodeled the living room, two bedrooms, both bathrooms, and pretty much everything with four walls and a ceiling.
We tore out walls. Replaced subfloor. Rerouted plumbing and electrical. We lived with temporary countertops and a microwave on a folding table for longer than I care to admit. Eventually, I realized we weren’t just remodeling the kitchen — we were rebuilding the house from the inside out.
The project has taken time, sweat, more than a few headaches, and a few dozen trips to Home Depot (I really hate that store.) Standing in the nearly-finished kitchen now — seeing the clean cabinet doors, the soft-close hinges lining up perfectly, the fresh trim and butcher block — it’s finally feeling worth it.
Final Thoughts
Sometimes it’s the smallest things — like a plastic circle stencil — that keep a big project moving. It’s not about being perfect or fancy. It’s about being practical, using the tools you have, and solving the next problem in front of you.
If you’ve got a 3D printer and some cabinets to install, I highly recommend making your own jig. It’s simple, quick, and way more satisfying than eyeballing it and hoping for the best.
We’re almost there. The kitchen that started this whole mess is finally coming together, and you better believe those cabinet doors open smooth as butter.
Leave a Reply
You must be logged in to post a comment.